Pallet furniture making has gained significant popularity among DIY enthusiasts as an accessible and creative way to furnish spaces. Pallets, originally designed for transporting goods, are sturdy and made from wood, making them an ideal material for crafting a variety of functional and decorative pieces. This movement has sparked interest among beginners who wish to embark on furniture projects that not only offer aesthetic appeal but also align with sustainable practices.
One of the primary advantages of using pallets for furniture making is cost-effectiveness. Often, pallets can be sourced for little to no cost from local businesses or warehouses, thus reducing material costs for aspiring furniture makers. This affordability allows individuals to experiment with different design ideas without the financial burden typically associated with purchasing new furniture. Furthermore, the reutilization of pallets helps in minimizing waste, promoting an eco-friendly approach that supports sustainability.
Another reason for the growing interest in pallet furniture projects is their versatility. Pallets can be transformed into a wide range of furniture items, including tables, chairs, sofas, and decorative accents. The adaptable nature of wooden pallets encourages creativity, allowing DIYers to modify designs according to their personal style or the specific needs of their space. By using simple tools and techniques, beginners can engage in a rewarding process of creating custom furniture that is both practical and visually appealing.
As we explore five easy DIY pallet furniture projects suitable for beginners, readers will discover that crafting furniture does not require an extensive background in woodworking or design. With patience and a willingness to learn, anyone can tap into their creativity and develop new skills while enjoying the process of making unique furniture from pallets.
Project 1: Rustic Coffee Table
Creating a rustic coffee table from reclaimed pallets is a rewarding and straightforward project that can add charm to your living space. To begin, gather the necessary materials: four wooden pallets, a saw, a hammer, nails or screws, wood glue, sandpaper, wood stain or paint, and a paintbrush. Ensure that the pallets are in good condition, without cracks or major damage, as this will affect the overall appearance of your table.
Start by disassembling the pallets. Carefully use your hammer to pry apart the slats, or if necessary, a saw can be used to cut the pallets into the desired sizes. Take care to preserve the wood as much as possible. Once the pallets are disassembled, you can choose to either use the slats as they are or cut them down to uniform lengths for a more polished look. Typically, a good height for a coffee table is approximately 18 inches, with a surface area that allows for drinks and decorative items.
Next, assemble the table by arranging the slats on top of a base made of two intact pallets laid horizontally. Secure the slats using nails or screws. Ensure each slat is evenly spaced to maintain a consistent appearance. For added stability, wood glue can be applied between the slats before fastening. After the table structure is assembled, sand all surfaces thoroughly to avoid splinters and achieve a smooth finish.
To enhance the rustic charm of your coffee table, a finish is essential. Apply wood stain or paint of your choice, and allow it to dry completely. This finishing touch will not only protect the lumber but will also elevate the table’s aesthetic appeal. This project exemplifies how simple materials can be transformed into a functional piece of furniture, making it ideal for beginners eager to explore DIY pallet furniture.
Pallet Garden Bench
Creating a pallet garden bench is an excellent way to enhance your outdoor space while providing functional seating. This project is straightforward and suitable for beginners, requiring just a few tools and basic materials. The following instructions will guide you through the process, ensuring that your bench is stable and durable.
To start, gather the following tools and materials: a measuring tape, saw, hammer, nails or screws, a sandpaper block, and outdoor wood treatment such as wood stain or sealant. For this project, you will need 2-3 pallets, depending on the desired size of your bench.
Begin by measuring your space to determine the appropriate dimensions for the bench. A typical garden bench is about 4 to 5 feet in length, 18 inches in height, and 18-24 inches in depth. After selecting the size, disassemble the pallets to obtain the individual boards. Ensure that the pallets are in good condition; inspect for any broken or splintered wood that could compromise the structure of your bench.
Once the boards are separated, start constructing the bench by arranging the boards in a rectangular shape for the seat. Use screws or nails to secure the boards together, allowing for sufficient spacing to accommodate any expansion due to moisture. To create the legs, cut four pieces from the remaining pallet wood, each approximately 18 inches in length. Attach the legs securely at each corner of the bench’s seat to provide stability.
For added durability against weather conditions, it is essential to treat the wood with an outdoor sealant or stain. This process helps protect the wood from moisture, insects, and UV rays. Allow the treatment to dry completely before placing your pallet garden bench in its intended position.
By following these simple steps, you can create a beautiful and functional pallet garden bench that will enhance your outdoor area and provide a comfortable space for relaxation.
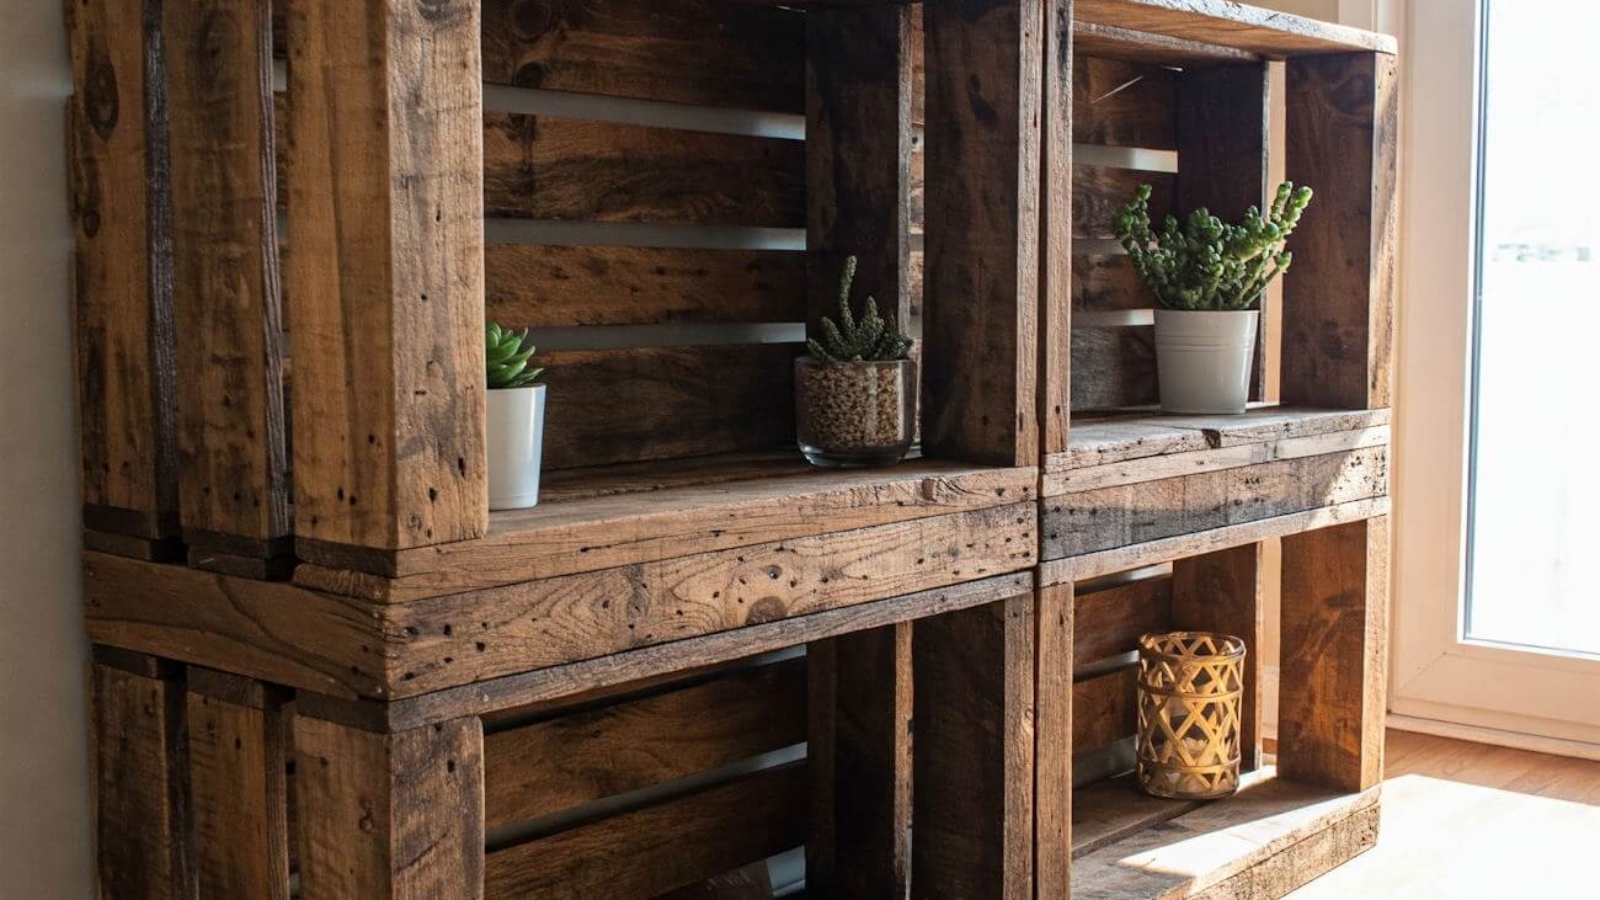
Project 3: Pallet Bookshelf
Creating a pallet bookshelf is an excellent project for beginners that combines practicality with a touch of rustic charm. To start, gather the necessary materials, including wooden pallets, sandpaper, wood screws, a drill, a saw, and a level. Depending on the desired height and style of the bookshelf, you may also need additional shelving support such as L-brackets or wooden dowels. Choosing high-quality pallets is vital, as they should be structurally sound and free from hazardous chemicals, ensuring safety in your home.
The first step in building your pallet bookshelf is to dismantle the pallets. Using a saw, carefully cut the pallets into desired sections, ensuring that these pieces maintain uniformity for a neat finish. After disassembling, sand down the rough edges and surfaces to prevent splinters and create a polished appearance. Once the pieces are ready, decide on the design of your bookshelf. A simple vertical or horizontal arrangement works well, but feel free to get creative with angled shelves or staggered levels for a modern twist.
Begin by assembling the base of the bookshelf using the largest pallet pieces, securing them in place with wood screws. Next, attach the additional shelves you have designated, ensuring each shelf is level for stability. As you progress, consider personalizing the bookshelf with paint or wood stain to match your home décor, or leave it in its natural state for a more rustic appeal. The beauty of a pallet bookshelf lies in its versatility; standard dimensions can be adjusted to fit snugly in any corner or wall space, making it suitable for various room sizes and styles.
This DIY project not only provides functional storage for books but also presents an opportunity to enhance your home’s aesthetic appeal. Pallet bookshelves allow for functionality while expressing creativity, making them a rewarding venture for even the most inexperienced DIY enthusiasts.
Project 4: Pallet Bed Frame
Constructing a minimalist bed frame from pallets is an excellent project that provides both aesthetic appeal and functionality. To begin, it is crucial to measure the specific dimensions of the mattress you plan to use. Standard mattress sizes include twin, full, queen, and king, with each variant having its own measurements. Accurate measurements will ensure that the pallet bed frame fits snugly, providing comfort and stability while supporting the mattress effectively.
Next, selecting the appropriate type of pallets is vital for the durability and longevity of your project. Look for heat-treated pallets rather than those treated with chemicals, as they are safer for indoor use. Ensure that the pallets are in good condition with no cracks or loose boards, as this will enhance the overall sturdiness of your bed frame. It’s also advisable to use pallets that have a uniform size and quality to maintain consistency in your bed frame design.
When assembling the frame, start by laying the pallets side by side, creating a stable base for your mattress. If desired, you can stack a second layer of pallets for additional height and support. Make sure to secure the pallets together using wood screws or brackets to prevent any wobbling or shifting. This assembly method not only promotes durability but also ensures safety during use.
After the frame is constructed, consider adding finishing touches that make the bed frame visually appealing. Sanding down rough edges and surfaces can significantly enhance its appearance. A coat of varnish or paint can provide a polished look while also protecting the wood from wear and tear. Finally, accessorize with appropriate bedding, cushions, and decorative elements to create a restful sleep environment that complements your unique style.
Project 5: Pallet Nightstand
The pallet nightstand is a fantastic DIY furniture project that not only adds charm to your bedroom but also offers functionality and storage. To begin, gather your materials: two or three wooden pallets, sandpaper, suitable screws, wood glue, a saw, a drill, and optional paint or wood stain for finishing touches. Ensure that the pallets you choose are in good condition, free from rot or excessive damage.
To create your pallet nightstand, start by disassembling one of the pallets with a pry bar or hammer, carefully removing the planks. Cut these planks to the desired length for the top surface of the nightstand, typically around 24 inches by 20 inches. Next, using a saw, cut four equal lengths for the legs, around 30 inches, which will provide stability and height for your piece.
Construct the frame by attaching two of the cut pallets together to form the body. Secure the frame with screws and wood glue for added durability. Once the frame is sturdy, attach the cut pallets for the tabletop, ensuring they are evenly spaced or tightly joined as per your aesthetic preference. You may opt to leave the surface rustic or smooth it out for a modern look.
After assembling the structure, the next step is finishing your nightstand. Sand the surface adequately to avoid splinters and prepare it for painting or staining. Choosing colors that match your existing decor can enhance the overall look of the nightstand. For a rustic feel, consider a natural stain that highlights the wood’s grain, while a bold paint can add a pop of color to your bedroom.
Finally, allow the finish to dry thoroughly before placing it in your room. Your pallet nightstand will not only serve as a practical storage solution but also as a beautiful piece of handmade furniture that complements other rustic pallet items in your home.
Tools and Materials Needed for DIY Pallet Projects
Embarking on DIY pallet furniture projects requires a well-equipped workspace, along with specific tools and materials that facilitate the construction process. Understanding the essentials makes it easier for beginners to feel prepared and confident in their ability to create functional and attractive furniture pieces.
To start, essential tools include a saw, drill, and sander. A handsaw or circular saw is necessary for cutting pallets to the desired dimensions. A power drill will be needed for making holes and securing screws. Additionally, a sander, whether manual or electric, will help smooth edges and surfaces, ensuring a polished look for your finished project.
In terms of materials, pallets are the star of the show. It is important to choose high-quality pallets that are structurally sound and free from damage. Look for pallets that have the “HT” stamp, indicating they have been heat-treated rather than chemically treated, which makes them safer for indoor use. Familiarizing oneself with a few guidelines is helpful, such as inspecting for cracks, splinters, or loose boards. Buying from reputable suppliers and avoiding pallets with strong odors or visible signs of mold will also ensure you are working with safe materials.
Lastly, safety gear is vital when undertaking any DIY project. Basic safety equipment includes gloves to protect your hands from splinters and rough edges, safety glasses to shield your eyes from dust and debris, and a dust mask for respiratory protection when sanding. Being well-prepared with the right tools and materials, along with appropriate safety gear, will create a secure and successful DIY experience.
Tips for Working with Pallets Safely
Creating furniture from pallets can be a rewarding and cost-effective endeavor, but it’s crucial to prioritize safety during the process. To begin, always inspect the pallets for any signs of damage, such as splinters, broken boards, or protruding nails. Damaged pallets can pose various risks, making it imperative to select only those that are in good condition. Look for pallets stamped with the ISPM 15 mark, indicating they have been treated for safe use.
When disassembling pallets, use proper techniques to minimize injury. A pry bar or hammer can help loosen boards without excessive force. Avoid using your hands in areas where they may become pinched or injured. Consider cutting the nails or screws holding the pallets together instead of prying, as this can make the process safer and reduce the risk of splinters. It is advisable to wear gloves to protect your hands from sharp edges and other hazards.
Securing your workspace is equally essential. Always work in a well-lit area that has adequate ventilation, especially if you are sanding or painting your pallet furniture. Clearing away clutter can help prevent trips and falls during your project. When lifting heavy pallets, remember to use proper lifting techniques to protect your back. Bend at the knees, keep your back straight, and avoid twisting your body while carrying heavy loads.
Lastly, don’t overlook the importance of personal safety gear. Ensure that you wear goggles to protect your eyes from dust and debris, as well as a dust mask if you’re sanding or working with chemicals. By adhering to these safety guidelines, beginners can enjoy the creative process of crafting pallet furniture while minimizing the risk of injuries.
Personalizing Your Pallet Projects
When embarking on a DIY pallet furniture project, one of the most rewarding aspects is the opportunity to personalize and customize your creations. By adding your unique touch, you can elevate the aesthetic appeal of your furniture and make each piece truly one-of-a-kind. The art of personalization can be approached through various methods, including painting, staining, and texturing the wood.
Painting is a popular choice for many DIY enthusiasts. It allows for an endless spectrum of colors, enabling you to match your furniture with the existing decor in your home or introduce a pop of color to a more neutral space. Water-based paints are typically recommended for ease of use and cleaner finishes. You might also consider using stencils to create patterns or designs that resonate with your personal style. Additionally, using spray paint can help achieve an even coating and covers more complex shapes efficiently.
Staining is another method that can significantly enhance the natural beauty of the wood. By highlighting the grain, different stain finishes can bring out warmth and richness in your pallet projects. From light, airy tones to dark, dramatic finishes, the choice of stain can dramatically change the overall feel of the furniture. Remember to test a small area first to ensure the selected stain complements your vision.
Texturing adds a layer of intrigue to your pallet furniture. Techniques such as distressing, sanding, or using wood treatments can create various finishes that evoke different styles, from rustic farmhouse to modern chic. To further enhance your creations, you might integrate fabrics, such as cushions or throws, for a cozy touch. Accessories, like decorative pillows or knick-knacks, can also serve to imbue your furniture with personality, making it a reflection of your own lifestyle and aesthetic preferences.
Conclusion: Enjoying Your Pallet Furniture Creations
Creating your own pallet furniture is not only a fulfilling way to enhance your living space, but it also embodies a sustainable approach to home decor. As you step back and admire the fruits of your labor, it is important to remember the effort and creativity you invested in each project. Each piece crafted from reclaimed materials stands as a testament to your skills, and the satisfaction derived from completing these DIY endeavors is incomparable. Whether you have fashioned a coffee table, a set of chairs, or decorative shelves, your contributions are enriching both your home and the environment.
The knowledge gained from working on these pallets extends beyond mere woodworking techniques; it fosters problem-solving skills, patience, and an appreciation for design. This hands-on experience promotes a deeper understanding of construction methods and materials. In doing so, you have not only created functional items but also cultivated a mindset geared towards sustainability. By repurposing wooden pallets, you contribute to reducing waste while inventively transforming something once discarded into practical furniture.
To celebrate your achievements, consider sharing your creations on social media platforms or engaging with local DIY communities. Platforms like Instagram or Pinterest are great venues for showcasing your hard work and can provide inspiration to others who are interested in DIY projects. Furthermore, discussing your methods and experiences can foster a connection with fellow DIY enthusiasts and potentially lead to collaboration on future projects. Embrace this journey of exploration in woodworking and design, and continue to push the boundaries of your creativity. Remember, the beauty of DIY projects lies not just in the finished product but in the camaraderie and satisfaction built along the way.