Pallet wood has garnered significant popularity in recent years, particularly among enthusiasts of DIY projects and home décor. Its rustic charm and versatility make it a favorite material for various creative endeavors, ranging from furniture to decorative pieces. The inherent characteristics of pallet wood, such as its unique texture and grain patterns, contribute to its attractiveness. However, these qualities also present certain challenges during the painting process. Therefore, understanding how to approach painting pallet wood effectively is crucial for achieving a desirable outcome.
When it comes to painting pallet wood, the initial appeal lies in its weathered appearance, often rich with texture and character. The rough surfaces and varied grains can evoke a sense of authenticity that high-end materials may lack. Nonetheless, these aspects require a careful painting technique to ensure a smooth finish that enhances, rather than detracts from, the overall aesthetic. To effectively paint pallet wood, one must consider factors such as wood preparation, paint selection, and application methods. Proper preparation is vital; it involves cleaning, sanding, and priming the wood to create an ideal surface for painting.
Furthermore, selecting the right type of paint can significantly influence the final result. Options include latex, acrylic, and chalk paint, each offering different finishes and adherence properties. Applying paint with a brush, roller, or spray can also affect the texture; therefore, choosing the appropriate application method is essential for a smooth finish. Mastering these techniques will not only enhance the visual appeal of pallet wood projects but will also ensure the durability of the painted surface. In this guide, we’ll explore the best practices for achieving a smooth finish when painting pallet wood, helping you elevate your DIY projects effectively.
Choosing the Right Paint for Pallet Wood
When it comes to painting pallet wood, selecting the right type of paint is essential for achieving a polished and durable finish. Several options are available, including latex, chalk, and spray paints, each with its distinctive properties that cater to different preferences and project requirements.
Latex paint is a popular choice for many DIY enthusiasts and professionals alike. This water-based paint dries quickly and is easy to clean up with soap and water. It adheres well to the surface of pallet wood, providing a smooth finish that is resistant to peeling and fading. One downside is that latex paint may require a primer for optimal adhesion, especially if the wood is untreated or has knots. However, it comes in a vast array of colors, making it versatile for various design needs.
Chalk paint is another option favored for its matte finish and ease of application. It is particularly suitable for achieving a vintage or rustic look, which can complement the natural characteristics of pallet wood. While chalk paint does not require a primer, it may need a sealing topcoat to enhance durability and weather resistance, especially if the painted item is for outdoor use. Its porous nature allows it to soak into the wood, resulting in excellent adhesion, although it can be less resistant to moisture than other paint types.
Spray paint offers a quick and efficient method of applying color to pallet wood, especially for intricate designs or hard-to-reach areas. It provides a fine mist, creating an even finish without brush strokes. However, caution is needed, as overspray can lead to waste and uneven coverage. Additionally, spray paint may require multiple coats to achieve the desired opacity, and proper ventilation is critical during application due to the fumes released.
Ultimately, the choice of paint for pallet wood hinges on various factors, including the intended use of the finished piece, desired aesthetic, and personal preference. By understanding the characteristics of each type of paint, one can ensure a successful and satisfying painting experience.
Preparing the Pallet Wood for Painting
Before embarking on the process of painting pallet wood, it is essential to meticulously prepare the surface. Proper preparation is crucial for achieving a smooth finish that enhances both the aesthetics and longevity of the paint. The initial step involves a thorough cleaning of the pallet wood. Start by removing dust, dirt, and any debris using a stiff-bristle brush or a vacuum cleaner. For more thorough cleaning, dampen a cloth with a mixture of water and mild soap, and wipe the wood to eliminate any remaining grime. Allow the wood to dry completely before proceeding to the next step.
The next critical step in preparing pallet wood involves sanding. Sanding helps achieve a smooth surface by removing rough patches and splinters that can interfere with paint adhesion. Using sandpaper with a grit of 80 or 120 is recommended for initial sanding. For hard-to-reach areas or intricate designs, an orbital sander can be an effective tool. After the surface feels smooth to the touch, follow up with finer sandpaper, around 220 grit, to prepare the wood for painting. It is advisable to sand in the direction of the wood grain to avoid scratches and imperfections.
Additionally, inspect the pallet wood for any damaged areas such as cracks or broken pieces. Repairing these issues is vital to ensure a long-lasting finish. Wood filler can be employed to fill any gaps or holes, and it should be allowed to dry as per the manufacturer’s instructions before sanding again to create a level surface. As you prepare the pallet wood, remember to wear appropriate safety gear, including gloves and a dust mask, to protect yourself from dust and debris. By taking these vital preparation steps, one can set the stage for a successful painting project, ensuring that the final result is visually appealing and durable.
Sanding Techniques for a Flawless Texture
Sanding is a crucial step in the process of achieving a smooth finish on pallet wood. The texture of the wood greatly influences the final appearance of your painted project, making it essential to employ effective sanding techniques. The primary goal of sanding is to create an even surface by removing imperfections, rough spots, and dust that could affect the adherence of paint.
When selecting sandpaper, the grit size plays a significant role. Coarse sandpaper, typically with grit sizes ranging from 40 to 60, is effective for initial sanding, especially for removing larger imperfections and old finishes. As the sanding process progresses, it is advisable to transition to medium grit sandpaper (80 to 120) to smooth out the coarse marks left by the initial sanding. Finally, for a truly flawless texture, fine grit sandpaper (180 to 220) should be used to achieve the desired smoothness before applying any finish or paint.
In addition to grit sizes, the choice of sanding tools can significantly impact the outcome. While manual sanding blocks are excellent for small areas and provide greater control, power sanders, such as orbital or belt sanders, can expedite the process for larger surfaces. It is essential to maintain consistent pressure and avoid lingering too long in one area to prevent removing excess material or damaging the wood fibers.
Best practices for sanding pallet wood also include working in the direction of the wood grain to avoid scratches and score marks. Frequent cleaning of the sanding surface is advisable to prevent dust from settling and clogging the sandpaper. Utilizing a vacuum or a tack cloth often lends to an even better finish by ensuring all particles are removed prior to painting. By employing these techniques and tools effectively, one can achieve a smooth and flawless texture on pallet wood, setting the stage for a stunning painted project.
Priming Pallet Wood: Is It Necessary?
The role of primer in the painting process can often be underestimated, especially when dealing with pallet wood. While it may seem natural to skip this step, understanding its significance can greatly impact the overall finish of your project. Priming pallet wood is generally advisable when you want to achieve a smooth and long-lasting finish. This step helps to seal the wood, preventing any natural oils or resins present in the material from leaching through the paint. Moreover, a good primer enhances the paint’s adhesion, ensuring that it clings well to the surface and reduces the likelihood of peeling or chipping over time.
There are several types of primers available, each suited for varying applications. Oil-based primers, for example, are excellent for preventing stains from bleeding through and are particularly effective on porous surfaces like pallet wood. Latex primers are also popular due to their quick drying time and ease of cleanup. For projects that require environmentally friendly options, water-based primers are an excellent choice, providing good adhesion while minimizing the release of volatile organic compounds (VOCs).
When deciding whether or not to prime pallet wood, consider the intended use and final aesthetic of the project. For outdoor items, such as furniture or decorative pieces, using a primer can significantly improve the durability and weather resistance of the finish. In contrast, projects that will remain indoors may not always require priming, especially if the wood is in good condition. Ultimately, priming is a small investment of time and resources that can yield significant benefits in enhancing the appearance and longevity of your painted pallet wood projects. By ensuring proper preparation and surface treatment, you set the foundation for a successful painting endeavor.
Application Techniques for a Smooth Finish
When it comes to painting pallet wood, achieving a smooth finish is crucial to enhancing the appearance and longevity of the wood. Various application techniques can lead to different results. The three most common methods for applying paint to pallet wood are brushing, rolling, and spraying. Each technique has unique advantages and requires specific considerations to avoid common pitfalls.
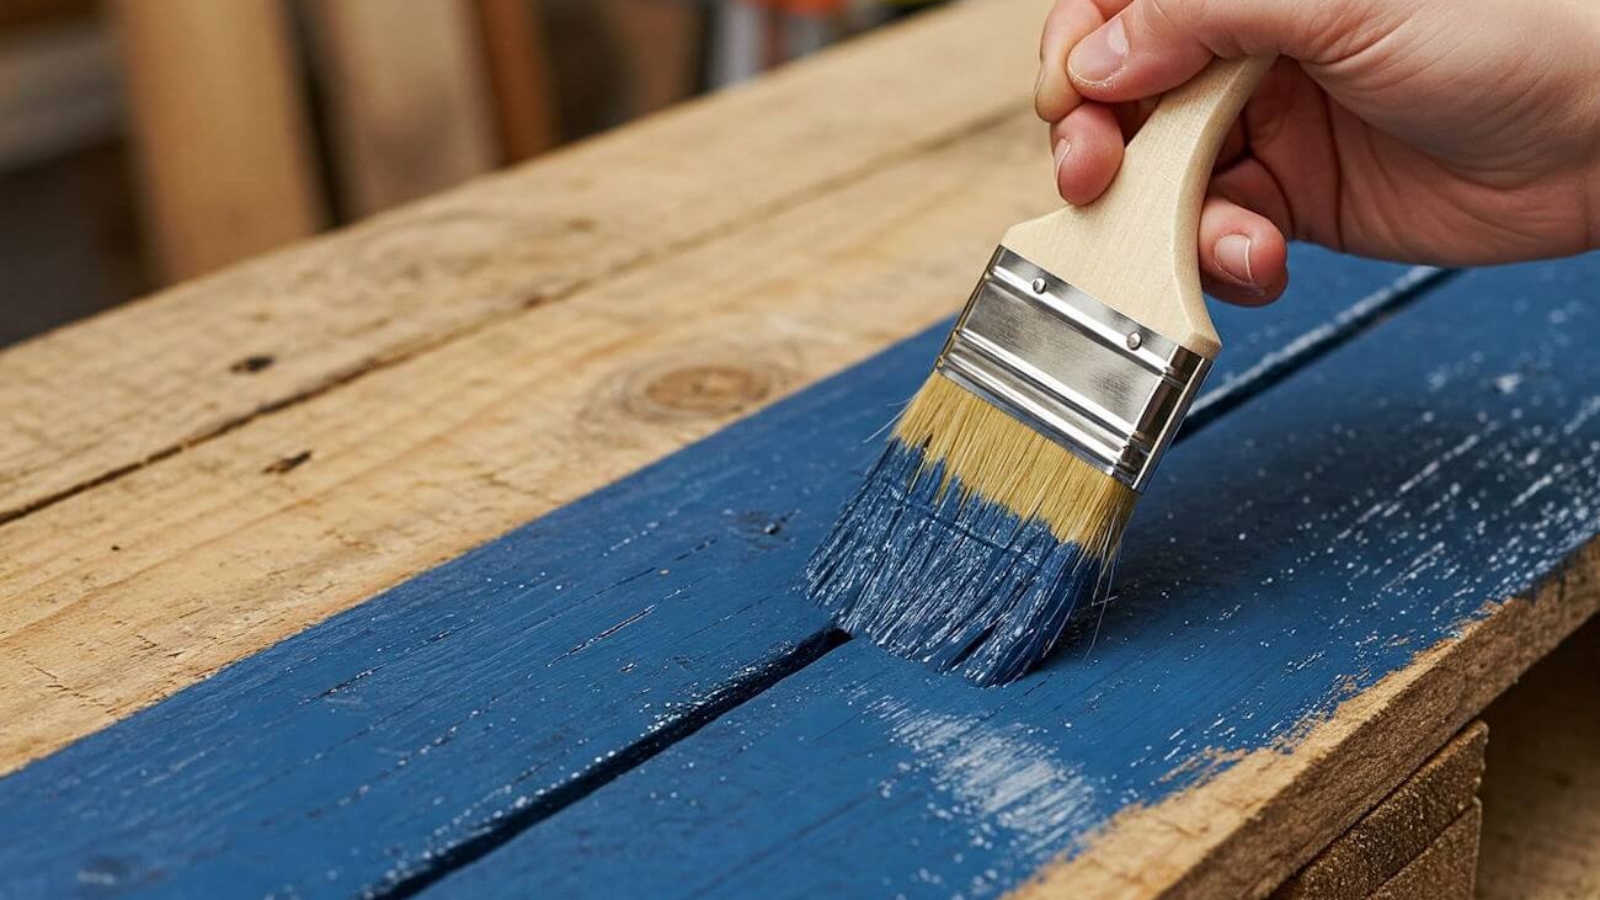
Brushing is a traditional method that offers precision and control. To achieve a smooth finish with a brush, it is essential to use high-quality bristle brushes designed for the type of paint being used. Apply a thin layer of paint, using long, even strokes to minimize brush marks. Common mistakes include overloading the brush with paint and applying excessive pressure, both of which can leave streaks and uneven textures. Additionally, it is advisable to work in sections to ensure that the paint does not dry before it can be blended with the next stroke.
Rolling is another effective technique that can often cover larger areas more quickly than brushing. To ensure a smooth finish, a high-density foam roller or a microfiber roller cover is recommended. These types of rollers distribute paint evenly while minimizing texture. It is important to avoid over-rolling the surface, as excessive rolling can lead to bubbles and an uneven finish. Instead, use a methodical approach, applying even pressure, and working in small sections at a time.
Finally, spraying is the method of choice for a flawless finish. This technique provides a uniform application and is exceptionally efficient for reaching intricate designs. However, it requires careful setup and the right kind of spray gun for optimal results. It is essential to practice on a scrap piece of wood first to adjust the spray pattern and pressure. A common mistake is failing to maintain a consistent distance from the surface, which can lead to drips and uneven coverage. Proper ventilation and protective gear are also necessary when using this method.
Drying and Curing Times: What You Should Know
When painting pallet wood, understanding drying and curing times is essential for achieving a smooth finish and ensuring the longevity of the paint application. Different types of paint, such as latex, oil-based, and spray paints, may have varying drying and curing times. Typically, latex paints, which are water-based, dry to the touch more quickly, often within 30 minutes to 1 hour. However, they generally require about 2 weeks to fully cure, a process where the paint hardens and bonds effectively with the wooden surface. On the other hand, oil-based paints take longer to dry; they can take anywhere from 6 to 8 hours to be touch-dry, and full curing may take up to 30 days.
Several factors influence these drying and curing times, including environmental conditions such as humidity, temperature, and air circulation. High humidity levels can slow down the drying process, making it crucial to paint pallet wood in a controlled environment. Moreover, cooler temperatures usually extend drying times, while warmer conditions tend to speed them up. In addition to environmental factors, the thickness of the paint applied can also affect drying times; a thicker coat will take longer to dry than a thin layer. Thus, it’s vital to avoid applying excessive amounts of paint to achieve an even finish and minimize the time spent waiting for it to dry.
Allowing adequate drying and curing times not only improves the appearance of the painted pallet wood but also enhances its durability. Inadequate drying can lead to issues such as smudging, peeling, or bubbling, ultimately compromising the project. By taking care to follow the recommended drying and curing times for the selected type of paint, you can ensure a resilient and visually appealing finish on your pallet wood creations.
Finishing Touches: Sealing and Protecting Your Work
After investing time and effort into painting pallet wood, the final step is to apply a sealant or topcoat. This essential process not only enhances the appearance of your painted surface but also contributes significantly to the longevity of your work. Without proper sealing, your paint may be susceptible to damage from moisture, UV rays, and daily wear and tear.
There are several types of sealants available, each with unique characteristics that cater to different needs. One common option is polyurethane, which comes in both oil-based and water-based formulations. Oil-based polyurethane offers a rich finish and excellent durability, making it suitable for high-traffic areas. On the other hand, water-based polyurethane dries faster and has less odor, making it an excellent choice for indoor projects.
Acrylic sealants are another popular choice, known for their quick-drying properties and resistance to yellowing. They can be applied over latex paint without causing smudging. Additionally, varnish is an alternative that creates a more natural look, often preferred for projects where the wood grain should remain visible.
The application method for sealants also varies. A brush or foam applicator is generally recommended for precise control, while a spray-on method can provide a more even finish without brush strokes. Regardless of the method chosen, it is crucial to follow the manufacturer’s instructions regarding drying times and number of coats required. Typically, two to three coats are recommended to ensure optimal protection.
Ultimately, applying a sealant or topcoat is a vital step in the painting process of pallet wood. This protective layer not only preserves your hard-earned finish but also ensures that your artwork remains resilient against external elements and retains its beauty for years to come. Taking the time to seal your work will undoubtedly yield rewarding results.
Troubleshooting Common Painting Issues
When painting pallet wood, achieving a smooth finish can sometimes be challenging due to various issues that may arise during the process. Understanding common problems such as paint drips, uneven texture, and peeling is crucial for obtaining a desired appearance. By identifying the causes and applying appropriate solutions, one can significantly improve the painting results.
One of the most frequent issues encountered is paint drips. These occur when too much paint is applied in one area, leading to excess pooling. Paint drips often happen because of thick applications or using a high-nap roller or brush. To resolve this, it is advisable to use a paintbrush or roller that is suitable for the texture of the pallet wood. Additionally, applying thinner coats and allowing each layer to dry fully before applying the next can help prevent drips.
Uneven texture is another common problem that can undermine a smooth finish. It typically arises from varying application techniques or inconsistent pressure when painting. To address this issue, carefully inspect the surface before painting and, if necessary, sand down any rough spots on the wood. Following that, utilize a high-quality primer that helps create a uniform surface. When applying subsequent coats, maintain consistent pressure and use smooth, even strokes to achieve a more uniform finish.
Peeling paint is often a result of inadequate surface preparation, such as failing to clean or sand the pallet wood properly. If peeling occurs, it is essential to remove any loose paint using a scraper or by sanding the affected area. Afterward, clean the surface thoroughly and apply an appropriate primer before repainting. This will enhance adhesion and create a smooth, durable finish.
In summary, encountering issues while painting pallet wood is not uncommon, but utilizing proper techniques and solutions can mitigate these challenges and lead to a satisfying outcome. By paying close attention to application methods and surface preparation, achieving that coveted smooth finish becomes achievable.